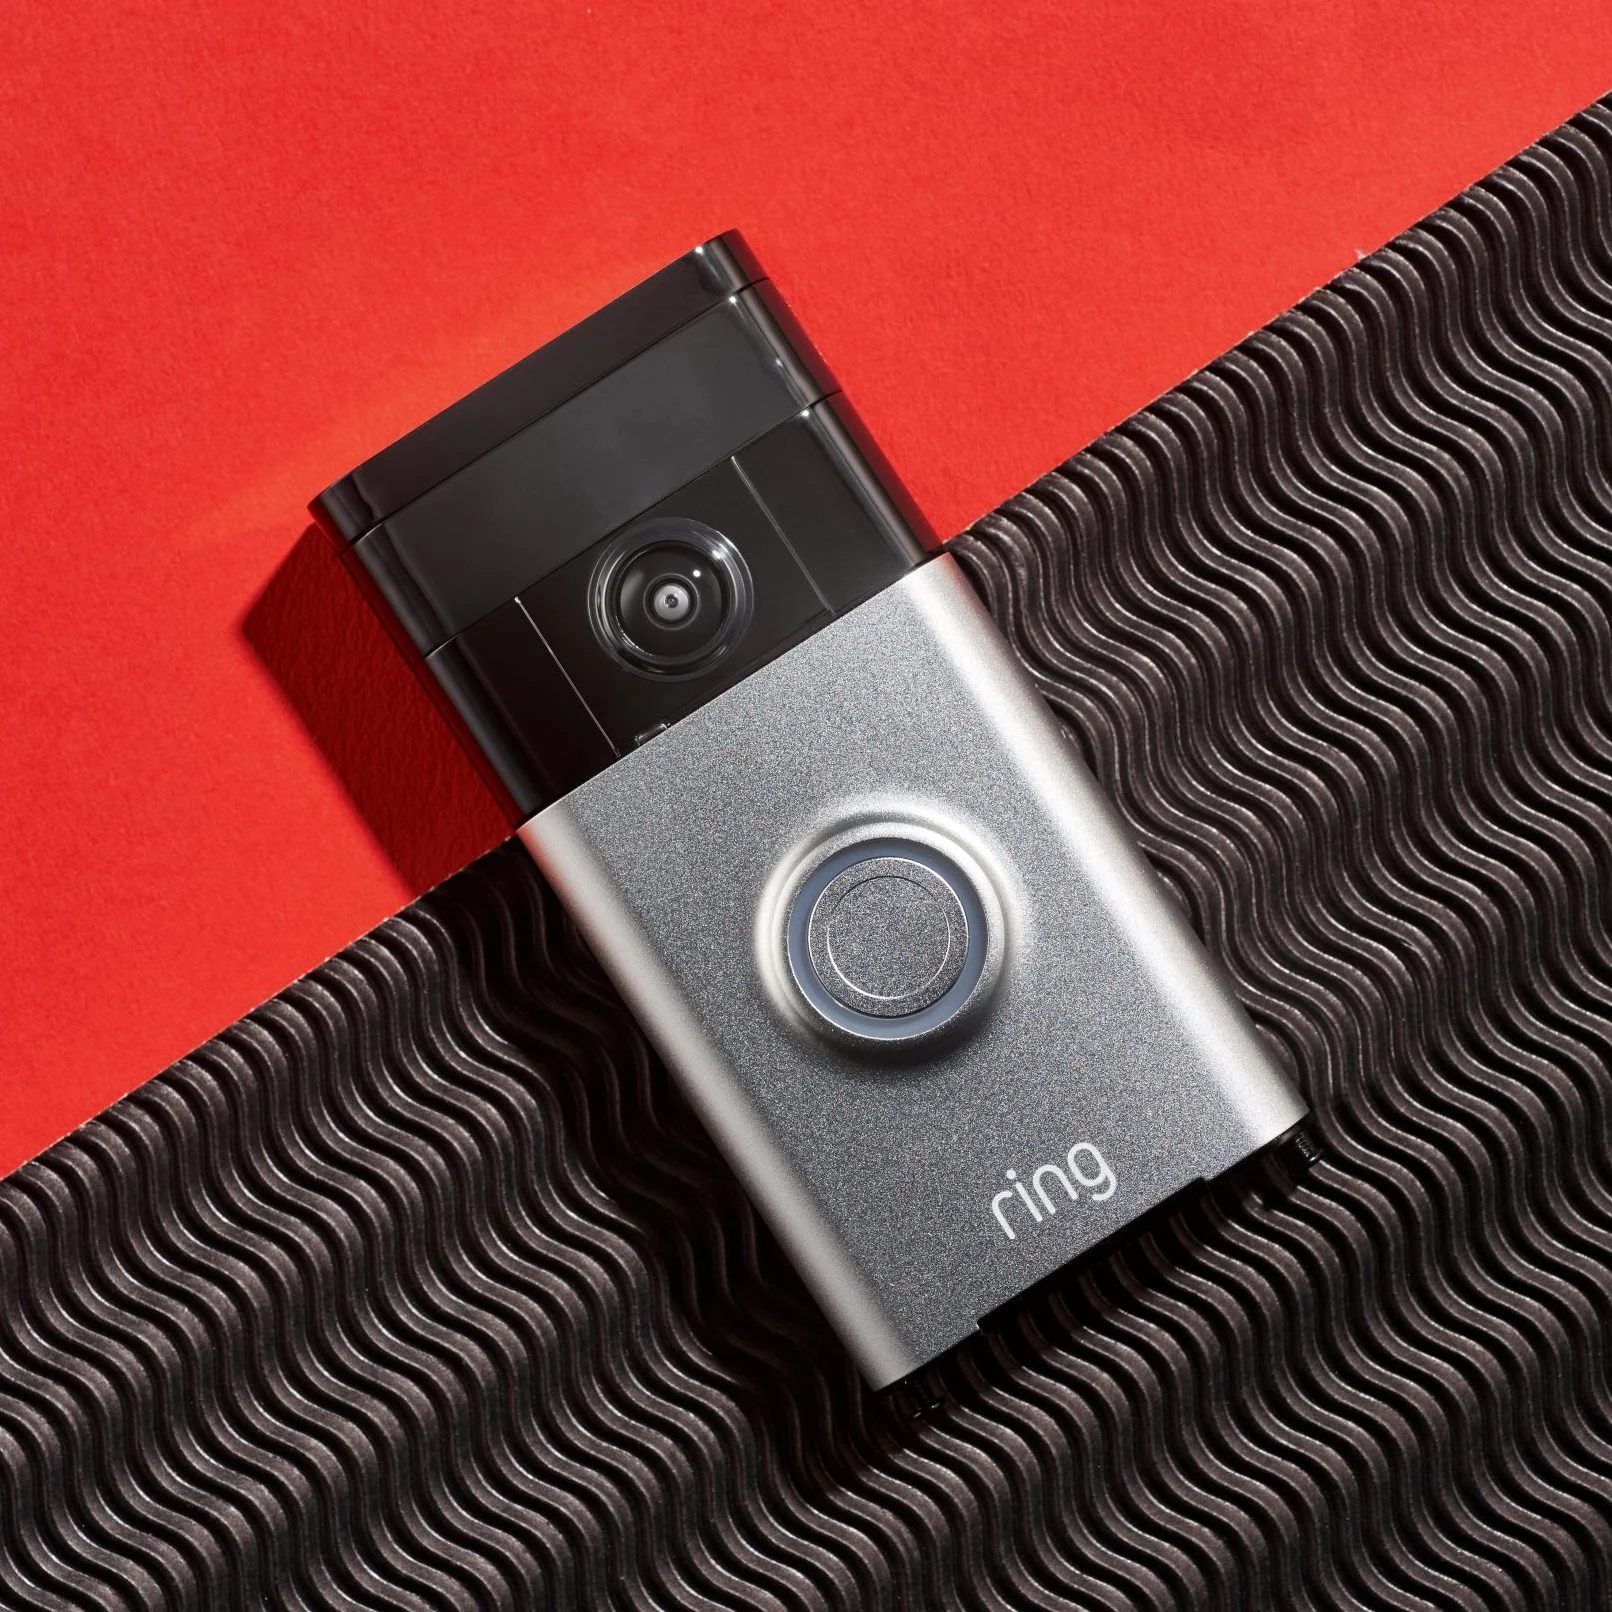
Home security has never been as simple and effective as it is with modern smart devices like the Ring Video Doorbell. Offering features like live video streaming, motion detection, and two-way communication, this device is a popular choice among homeowners. But how do you get it up and running? In this comprehensive guide, we’ll show you exactly how to install a Ring Video Doorbell, step by step, and make the process seamless.
Why Choose a Ring Video Doorbell?
Before diving into the installation process, it’s important to understand the benefits of the Ring Video Doorbell. This device not only enhances your home’s security but also provides peace of mind with real-time alerts and video access through the Ring app. Whether you’re home or away, the Ring Video Doorbell keeps you connected to your front door.
What You’ll Need for Installation
To successfully install your device, gather these tools and materials in advance:
Ring Video Doorbell Kit (includes screws, anchors, mounting bracket, and setup guide)
Screwdriver (Phillips head recommended)
Power Drill (for harder surfaces like brick or concrete)
Voltage Tester (for wired installations)
Wi-Fi Connection (a strong and stable network is essential)
Smartphone (to set up the device using the Ring app)
Step 1: Unbox and Inspect the Components
Before beginning the installation process, unbox your Ring Video Doorbell and ensure all components are included. The standard kit typically includes:
The Ring Video Doorbell device
Mounting bracket
Screws and anchors
Quick start guide
Security screwdriver
Step 2: Charge the Battery (For Battery-Powered Models)
If you’ve chosen a battery-powered Ring Video Doorbell, fully charge the battery before installation. The device comes with a USB cable for charging. Plug it into a power source, and wait until the indicator light turns green, signaling a full charge.
Step 3: Turn Off Power to the Existing Doorbell (For Wired Models)
For wired models, locate your home’s circuit breaker and turn off the power to your current doorbell system. Use a voltage tester to confirm there’s no live current before proceeding. This step is crucial to ensure your safety.
Step 4: Remove the Old Doorbell
If you’re replacing an existing doorbell, carefully remove it by unscrewing the mounting screws. Gently pull it away from the wall to expose the wires. Disconnect the wires by loosening the terminal screws or clips.
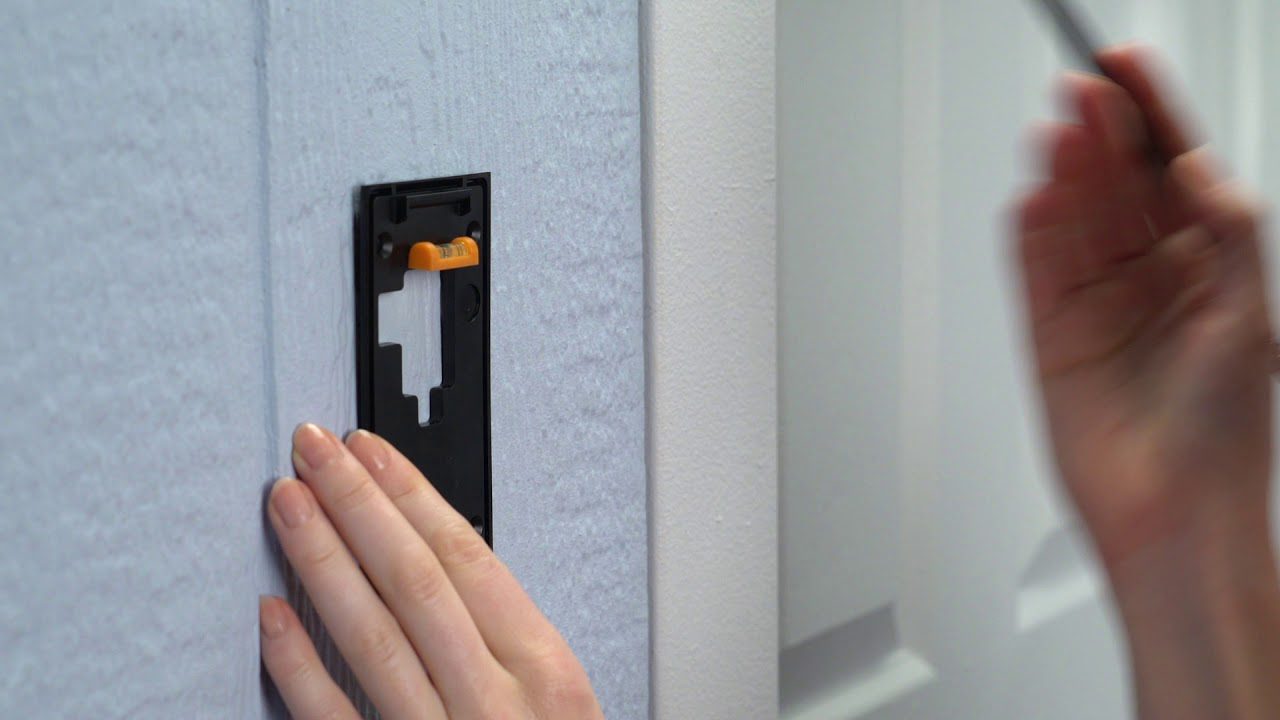
Step 5: Mark the Mounting Location
Position the mounting bracket included in your Ring Video Doorbell kit at the desired location. Use a pencil to mark the screw holes. Ensure the bracket is aligned properly for optimal camera coverage.
Tips for Optimal Placement
Mount the device at chest height (approximately 4 feet from the ground).
Avoid areas with direct sunlight or reflective surfaces that may cause glare.
Ensure the Wi-Fi signal is strong in the chosen location.
Step 6: Drill Holes and Install the Bracket
If you’re mounting the device on a hard surface like brick or concrete, use a power drill to create holes where you’ve marked. Insert the provided anchors into the holes, then secure the mounting bracket with screws.
Step 7: Connect the Wires (For Wired Models)
For wired models, attach the doorbell wires to the terminals on the back of the Ring Video Doorbell. It doesn’t matter which wire connects to which terminal since the device is non-polarized. Tighten the screws to secure the wires.
Pro Tip: If the wires are too short, use wire extensions to make the connection easier.
Step 8: Attach the Ring Video Doorbell
Align the device with the mounting bracket and snap it into place. Once positioned correctly, secure it with the provided security screws. This ensures the device stays firmly attached and deters theft.
Step 9: Restore Power to the Circuit
For wired installations, return to the circuit breaker and switch the power back on. The Ring Video Doorbell should light up, indicating it’s powered and ready for setup.
Step 10: Set Up the Ring App
To complete the installation, set up the device using the Ring app:
Download the App: If you haven’t already, download the Ring app from the App Store (iOS) or Google Play Store (Android).
Create or Log In to Your Account: Open the app and create an account or log in to your existing one.
Add a New Device: Tap “Set Up a Device” and select “Video Doorbell” from the list.
Scan the QR Code: The device has a QR code or MAC ID barcode on the back. Use your smartphone to scan it.
Connect to Wi-Fi: Follow the in-app instructions to connect the doorbell to your Wi-Fi network.
Test the Video Feed: Verify that the live video feed works and adjust settings as needed.
Step 11: Test the Doorbell
Once the setup is complete, test the Ring Video Doorbell to ensure all features are functioning correctly:
Press the doorbell button to test notifications.
Use the app to check the live video feed.
Experiment with the two-way communication feature.
Overcoming Installation Challenges
- Weak Wi-Fi Signal
A weak Wi-Fi signal can hinder the performance of your Ring Video Doorbell. Consider using a Wi-Fi extender to improve connectivity.
- Hard Surfaces
Drilling into hard surfaces like brick or stone can be challenging. Use a masonry drill bit and take your time to ensure precise holes.
- Electrical Compatibility
For wired models, ensure your existing doorbell system operates on 16-24V AC. If it doesn’t, you may need a Ring Plug-In Adapter.
Maintenance Tips for Your Ring Video Doorbell
To keep your device functioning optimally, follow these maintenance tips:
Clean the Lens: Periodically wipe the camera lens with a microfiber cloth to ensure clear video.
Update the Firmware: Keep the Ring app and device firmware updated for improved performance.
Adjust Motion Zones: Customize motion detection zones in the app to reduce false alerts.
Why Installing a Ring Video Doorbell is Worth It
Installing a Ring Video Doorbell not only boosts your home security but also adds convenience to your daily life. With features like real-time video streaming, motion detection, and two-way audio, you’ll always know who’s at your door. While the installation process may seem daunting at first, this guide makes it simple, regardless of your technical expertise.
Final Thoughts
Learning how to install a Ring Video Doorbell doesn’t have to be overwhelming. By following this step-by-step guide and taking your time, you can successfully install this smart home device and enhance your security setup. Whether you choose a wired or battery-powered model, the benefits of a Ring Video Doorbell far outweigh any installation challenges.