Removing a Blink doorbell from its mount requires understanding the specific mounting method—screwed-in or no-drill—and following precise steps to ensure the device is safely detached without damaging your property.
This guide offers straightforward instructions to help you efficiently unmount your Blink doorbell, covering everything from the initial preparation to handling the wiring after removal.
How Can You Identify the Type of Mount Used for Your Blink Doorbell?
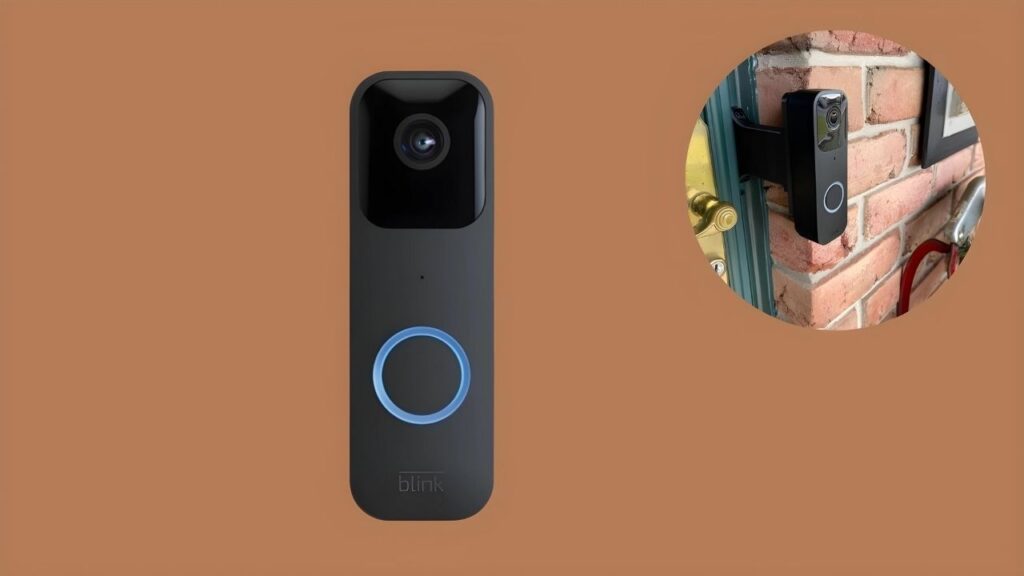
To figure out which type of mount is holding your Blink doorbell, start by looking closely at how it’s positioned. If the doorbell is angled, it might be using a corner mount, which helps give a better view of the area. A wedge mount is similar but usually tilts the doorbell downward or upward to adjust the camera’s field of vision.
If you don’t see any screws or it looks like your doorbell is attached without damaging the wall, it could be using a no-drill mount, which often uses an adhesive backing or a clamping mechanism. Identifying the mount type is crucial for correctly removing the doorbell without causing any damage.
What Are the Steps to Remove a Blink Doorbell From a No-Drill Mount?
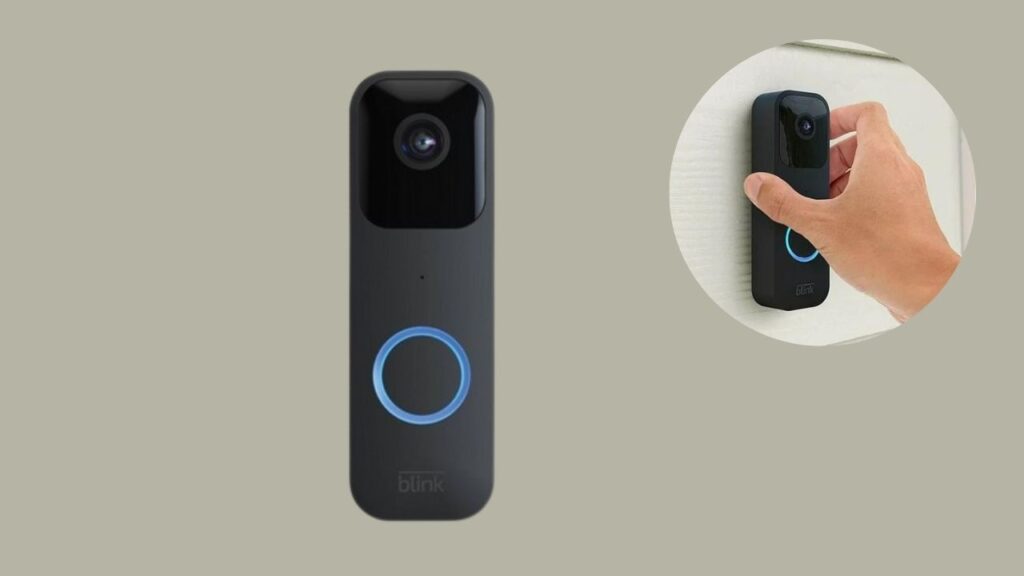
Removing a Blink doorbell from a no-drill mount requires a gentle touch to avoid damaging the device or the surface it’s adhered to. Here’s a straightforward guide to detaching the doorbell safely:
- Turn Off the Power: Before starting, disable the doorbell through the Blink app to ensure safety.
- Warm the Adhesive: Use a hairdryer to gently warm the area around the mount. This softens the adhesive, making it easier to remove without leaving residue.
- Slide a Thin Object: Carefully slide a thin object, like a putty knife or a credit card, under the edge of the mount. Work slowly to gradually pry the mount away from the surface.
- Apply Steady Pressure: Apply steady, gentle pressure as you work the object around the edges of the mount. This helps to gradually release the adhesive without jerking movements that might damage the wall or the doorbell.
- Clean the Surface: Once removed, clean any adhesive residue from the wall and the back of the doorbell with an adhesive remover or rubbing alcohol.
These steps should help you remove your Blink doorbell from its no-drill mount without any hassle.
How Do You Detach a Blink Doorbell From a Screwed-in Mount?

Detaching a Blink doorbell from a screwed-in mount is a straightforward process, but it requires careful handling to avoid damage to both the device and the mount. Here’s how to do it effectively:
- Locate the Screws: Start by examining the doorbell to locate all visible screws. These are usually found on the bottom or sides of the mount.
- Select the Right Tool: Ensure you have the correct type of screwdriver that matches the screws on your Blink doorbell. Using the wrong tool can strip the screws, making them harder to remove.
- Unscrew Gradually: Carefully unscrew each one, applying steady pressure to avoid slipping and scratching the doorbell or the mount. It’s a good idea to hold the doorbell with one hand while you unscrew to prevent it from falling.
- Gently Remove the Doorbell: Once all screws are removed, gently lift the doorbell away from the mount. If it feels stuck, check for any clips or additional security features that might be holding it in place.
- Keep Screws Safe: Place the screws in a small container or bag to keep them safe, as you will need them if you plan to reinstall the doorbell later.
Following these steps will help ensure that you detach your Blink doorbell safely without any damage.
What Should You Do If the Blink Doorbell is Stuck?
When your Blink doorbell won’t budge, whether it’s attached via a screwed-in or no-drill mount, there are safe methods to try. For doorbells in screwed-in mounts, once all screws are removed, gently wiggle the device to see if it loosens.
If it’s still fixed, carefully use a plastic pry tool to ease it off without scratching the surface or the doorbell. For no-drill mounts, which typically use adhesive, applying gentle heat with a hairdryer can soften the adhesive, making it easier to pry the doorbell off with the same plastic tool.
These steps help ensure that your doorbell and the surface remain intact, whether stuck to a screw mount or an adhesive pad.
How to Handle Wiring After Removing Your Blink Doorbell?

Once you’ve removed your Blink doorbell, make sure to safely manage any exposed wires. First, ensure the power is off to avoid electrical risks. Label each wire clearly to avoid confusion during future installations.
Cap the ends with wire nuts or wrap them with electrical tape to prevent shorts. Store the wires in a secure, dry place until you’re ready to reinstall or replace the doorbell. This careful handling will protect the wires and your home’s safety.
How Do You Repair Any Damage Caused During Removal?
If removing your Blink doorbell leaves small holes or marks, here’s a quick fix: fill the holes with spackling paste, smooth it out with a putty knife, let it dry, and then sand it lightly. Touch up the area with matching paint to make it look as good as new.
For larger damages, like big holes or structural issues, consider hiring a professional to ensure the repair is thorough and safe, maintaining your wall’s integrity and appearance.
How to Reinstall or Replace Your Blink Doorbell?

Whether you’re reinstalling your current Blink doorbell or replacing it with a new one, choosing the right spot and following the proper installation steps are key to ensuring optimal performance and security. Here’s how to do it:
- Select the Location: Choose a location that offers a clear view of the area you want to monitor. Avoid direct sunlight and any obstructions.
- Check Wi-Fi Strength: Ensure the chosen spot has strong Wi-Fi connectivity, as poor signal can affect the doorbell’s functionality.
- Mark the Position: Once you’ve chosen the spot, hold the mount against the wall, level it, and mark where the screws will go. This helps avoid mistakes during drilling.
- Drill Holes: Drill holes at the marked spots, then insert wall anchors if the surface requires them.
- Attach the Mount: Screw the mount securely into place. Make sure it’s tight and stable.
- Mount the Doorbell: Snap your Blink doorbell onto the mount. Check that it’s firmly attached and positioned as you want it.
- Connect to Power: If your model uses a wired connection, connect it to the power source now. Otherwise, ensure your battery-operated model is charged.
- Test the Setup: Finally, test your doorbell through the Blink app to ensure it’s working correctly, adjusting the settings as needed.
By following these steps, you can effectively reinstall or replace your Blink doorbell, enhancing the security and functionality of your home surveillance system.
Where Can You Find Additional Resources or Professional Help?
For extra help with your Blink doorbell, start with the official Blink support website for guides and troubleshooting tips. For community advice, forums like Reddit or Home Improvement Stack Exchange are great places to ask questions and share experiences.
If you need professional help, local electricians or tech services specialising in home automation can assist. When contacting customer service, have your model number and purchase details handy, and try calling during off-peak hours for quicker assistance. These resources should help you effectively manage any issues with your Blink doorbell.
People Are Also Interested In:
Is it difficult to remove the Blink doorbell by myself?
Not really. When I did it, it was quite straightforward. Just unscrew the security screws and gently pull the doorbell off the mount. Be careful not to pull too hard on any wires if your model is wired.
How do you remove a Blink doorbell from a door bracket?
Insert the release key into the slot at the bottom to release the catch. Then, pull the doorbell from the mounting plate, slide it up, and pivot away to detach it.
What maintenance should I perform on the doorbell once it’s removed?
Clean the lens and any sensors. When I took mine down, I noticed it was dusty, which can affect performance. A soft, dry cloth did the trick.
Do I need to turn off the power before removing a wired Blink doorbell?
Yes, it’s safest to turn off the power at the circuit breaker. I forgot once and got a small shock. Safety first!
Will removing the Blink doorbell affect my subscription or saved videos?
No, your subscription and videos are tied to your account, not the device itself. I removed mine and later reinstalled it without losing any data.
Final Verdict:
Efficiently removing a Blink doorbell from its mount involves identifying the mount type, preparing properly with the right tools, and following specific steps to avoid damage.
Whether it’s a screwed-in or no-drill mount, handling the doorbell and its components with care ensures a smooth process. You can safely detach and manage your Blink doorbell by adhering to these guidelines.